|

|

|
1. What's a Makeup Sponge?
It's just a soft thing you use to put on and blend makeup, things like foundation, concealer, blush, and powder.
What it's good for:
Makes your makeup look smooth and even
Blends it all, so it looks natural
Gets into small spots, like under your eyes or around your nose and lips
2. What They're Made Of
Foam (no latex): The most common. It's soft and soaks up a little makeup.
Silicone: Doesn't soak up anything and is easy to wash.
Microfiber/Velour: Great for powders or when you want a special look.
Real sponges: Not used much, mostly for certain looks.
3. Shapes and What They Do
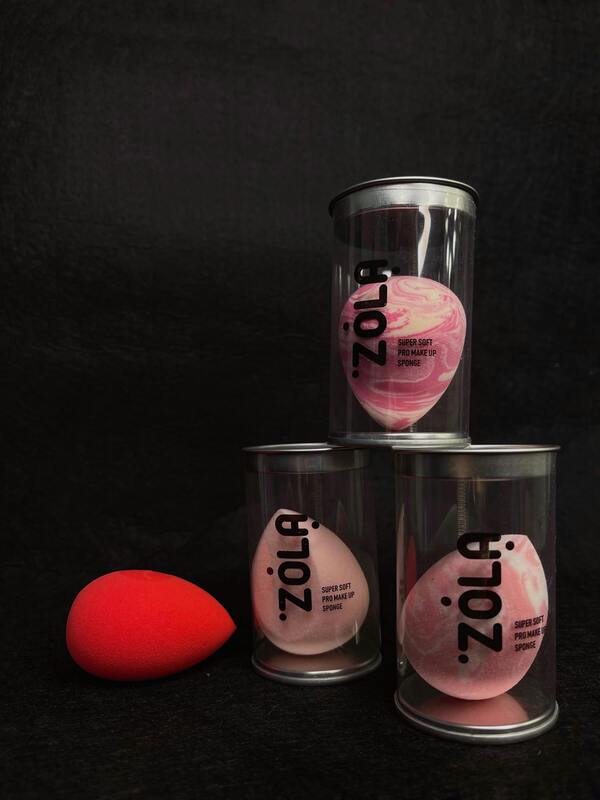
Teardrop/Egg: Use the round part for your cheeks and forehead. The pointy tip is for your nose and under your eyes.
Flat-Edge: Good for pressing on makeup, setting powder, and contouring small areas.
Hourglass: Easy to hold and fits the curves of your face when you're blending.
Mini: For small spots. Like pimples, under your eyes, and around your nose.
Flat Silicone: Lets you put on makeup without wasting any.
4. How to Use One
Get it Ready:
Wet the sponge and squeeze out the extra water to make it soft.
If you don't wet it, you'll get more coverage, but it wastes more makeup.
Putting on Makeup:
Put some makeup on your hand first.
Dab the sponge in the makeup.
Bounce the sponge on your face. Don't drag it.
Use the right part of the sponge for the right spot (tip, side, or flat edge).
Finishing Up:
After your makeup is on, bounce the sponge lightly to blend everything.
You can also use it to put on blush, highlighter, or bronzer.
5. Picking the Right One
Skin type: If you have sensitive skin or acne, get a latex-free foam or silicone sponge.
Makeup type:
Use a foam sponge for liquid or cream makeup.
Use a flat-edge or velour sponge for powder.
How much coverage you want: Wet the sponge for light coverage; use it dry for more.
Face areas: Use a big sponge for your whole face and small sponges for details.
When to get a new one: Foam ones last about 2-3 months. Silicone ones last longer.
6. Washing and Taking Care of It
Wash it every few times you use it, or at least once a week.
Use gentle soap, rinse it, and let it air dry.
Don't keep it in a closed container when it's wet, or it might get moldy.
Get a new one if it rips, smells bad, or isn't springy anymore.
Pro tip: Silicone sponges are easier to wash because they don't soak up makeup.
7. Good and Bad Things About Them
Good:
Gives you a smooth finish.
Works with liquids, creams, and powders.
Blends without streaks.
Makes your makeup look like skin when the sponge is damp.
Bad:
Foam sponges soak up makeup.
You have to wash them a lot to keep germs away.
Too much wet sponge can make your makeup look thin.
Dragging the sponge makes streaks.
8. When to Use Them for Different Makeup
Liquid foundation: Use a wet foam sponge and bounce it from your cheeks to your forehead.
Concealer: Use the pointy tip or a mini sponge for small spots.
Cream blush/bronzer: Bounce it on to blend it in.
Powder: Use the flat edge to press it on, then brush off the extra.
Contour: Use the edge of the sponge for your jawline.
Finishing: Use a wet sponge to blend everything.
9. Some Tips
Wet sponge = light coverage; dry sponge = more coverage
Bounce, don't drag
Silicone = less wasted makeup, easier cleaning
If you're new to this, start with a teardrop/egg-shaped sponge
Always wash, dry, and replace them.
It's just a soft thing you use to put on and blend makeup, things like foundation, concealer, blush, and powder.
What it's good for:
Makes your makeup look smooth and even
Blends it all, so it looks natural
Gets into small spots, like under your eyes or around your nose and lips
2. What They're Made Of
Foam (no latex): The most common. It's soft and soaks up a little makeup.
Silicone: Doesn't soak up anything and is easy to wash.
Microfiber/Velour: Great for powders or when you want a special look.
Real sponges: Not used much, mostly for certain looks.
3. Shapes and What They Do
Teardrop/Egg: Use the round part for your cheeks and forehead. The pointy tip is for your nose and under your eyes.
Flat-Edge: Good for pressing on makeup, setting powder, and contouring small areas.
Hourglass: Easy to hold and fits the curves of your face when you're blending.
Mini: For small spots. Like pimples, under your eyes, and around your nose.
Flat Silicone: Lets you put on makeup without wasting any.
4. How to Use One
Get it Ready:
Wet the sponge and squeeze out the extra water to make it soft.
If you don't wet it, you'll get more coverage, but it wastes more makeup.
Putting on Makeup:
Put some makeup on your hand first.
Dab the sponge in the makeup.
Bounce the sponge on your face. Don't drag it.
Use the right part of the sponge for the right spot (tip, side, or flat edge).
Finishing Up:
After your makeup is on, bounce the sponge lightly to blend everything.
You can also use it to put on blush, highlighter, or bronzer.
5. Picking the Right One
Skin type: If you have sensitive skin or acne, get a latex-free foam or silicone sponge.
Makeup type:
Use a foam sponge for liquid or cream makeup.
Use a flat-edge or velour sponge for powder.
How much coverage you want: Wet the sponge for light coverage; use it dry for more.
Face areas: Use a big sponge for your whole face and small sponges for details.
When to get a new one: Foam ones last about 2-3 months. Silicone ones last longer.
6. Washing and Taking Care of It
Wash it every few times you use it, or at least once a week.
Use gentle soap, rinse it, and let it air dry.
Don't keep it in a closed container when it's wet, or it might get moldy.
Get a new one if it rips, smells bad, or isn't springy anymore.
Pro tip: Silicone sponges are easier to wash because they don't soak up makeup.
7. Good and Bad Things About Them
Good:
Gives you a smooth finish.
Works with liquids, creams, and powders.
Blends without streaks.
Makes your makeup look like skin when the sponge is damp.
Bad:
Foam sponges soak up makeup.
You have to wash them a lot to keep germs away.
Too much wet sponge can make your makeup look thin.
Dragging the sponge makes streaks.
8. When to Use Them for Different Makeup
Liquid foundation: Use a wet foam sponge and bounce it from your cheeks to your forehead.
Concealer: Use the pointy tip or a mini sponge for small spots.
Cream blush/bronzer: Bounce it on to blend it in.
Powder: Use the flat edge to press it on, then brush off the extra.
Contour: Use the edge of the sponge for your jawline.
Finishing: Use a wet sponge to blend everything.
9. Some Tips
Wet sponge = light coverage; dry sponge = more coverage
Bounce, don't drag
Silicone = less wasted makeup, easier cleaning
If you're new to this, start with a teardrop/egg-shaped sponge
Always wash, dry, and replace them.
1. **Shapes**
* **Teardrop/Egg:** These have a round bottom and pointy top. Use the round part for your cheeks and forehead, and the tip for under your eyes, around your nose, and lips.
* **Flat/Wedge:** These are flat on the sides with sharper edges. Great for pressing on powder, shaping your face in small areas, or baking.
* **Hourglass/Curvy:** They're narrow in the middle so you can hold them easily. Good for blending all over your face since they fit the curves of your face well.
* **Mini:** These are small with a pointy or flat end. Use them for concealer, blemishes, or to get into the small areas around your eyes and nose.
* **Silicone/Flat:** They're smooth and don't soak up product. They're awesome for spreading liquid foundation.
2. **Materials**
* **Foam (latex-free):** They're soft and soak up product. They blend nicely and give an airbrushed look because they grab some of the product. Heads up - they need to be washed a lot since they do absorb product.
* **Silicone:** These are smooth and don't soak up product. You waste way less product, and they're easy to clean. They can be a bit slippery and might need more work to blend well.
* **Velour/Microfiber:** They're soft and fabric-like. Nice for powders and gentle on your skin. They're not super common and are mostly used for specific powders.
* **Natural Sponge:** Made from sea sponges or plants, they have a unique feel that can give some interesting finishes. They're not as clean and can be pricey. Their shapes can also be weird.
3. **What They Do**
* **Foundation:** Use a damp, teardrop foam sponge.
* **Concealer:** Go for a mini or pointy sponge.
* **Powder:** Use a flat-edge or velour sponge.
* **Contour:** A wedge, curvy, or mini sponge will work.
* **Applying Product Without Absorbing:** Try a flat silicone sponge.
**Quick Tip:**
* Wet sponges give you lighter coverage, like airbrushing.
* Dry sponges give you heavier coverage.
* Silicone sponges don't soak up any product at all.